Filter Maintenance Needs
We recommend cleaning your cartridge filter once a month by removing the interior and rinsing it with a hose before re-inserting it. Depending on how much wear your filter takes, you'll likely need to replace it once or twice a year: when it no longer comes clean upon rinsing, it's time to replace your filter. You can purchase a new filter from any good online purchasing site by simply searching up "Sta-Rite 27002-0200S System 2 PLM200 Replacement Cartridge Filter."
Procedure
Please follow the instructions below, or watch this video for a visual walk-through of changing and cleaning your filter:
First, turn the water off by closing the valves before and after the filter.
Depending on your pool's mechanical room setup, you may need to follow the directions in the video exactly, shutting three valves around your filter: first, the black, rounded valve above the filter should be turned so that the extended section is aligned with the pipe in the “off” position; then, two smaller red valves of the more typical valve structure would simply need to be turned so that they’re perpendicular with the pipe below them.
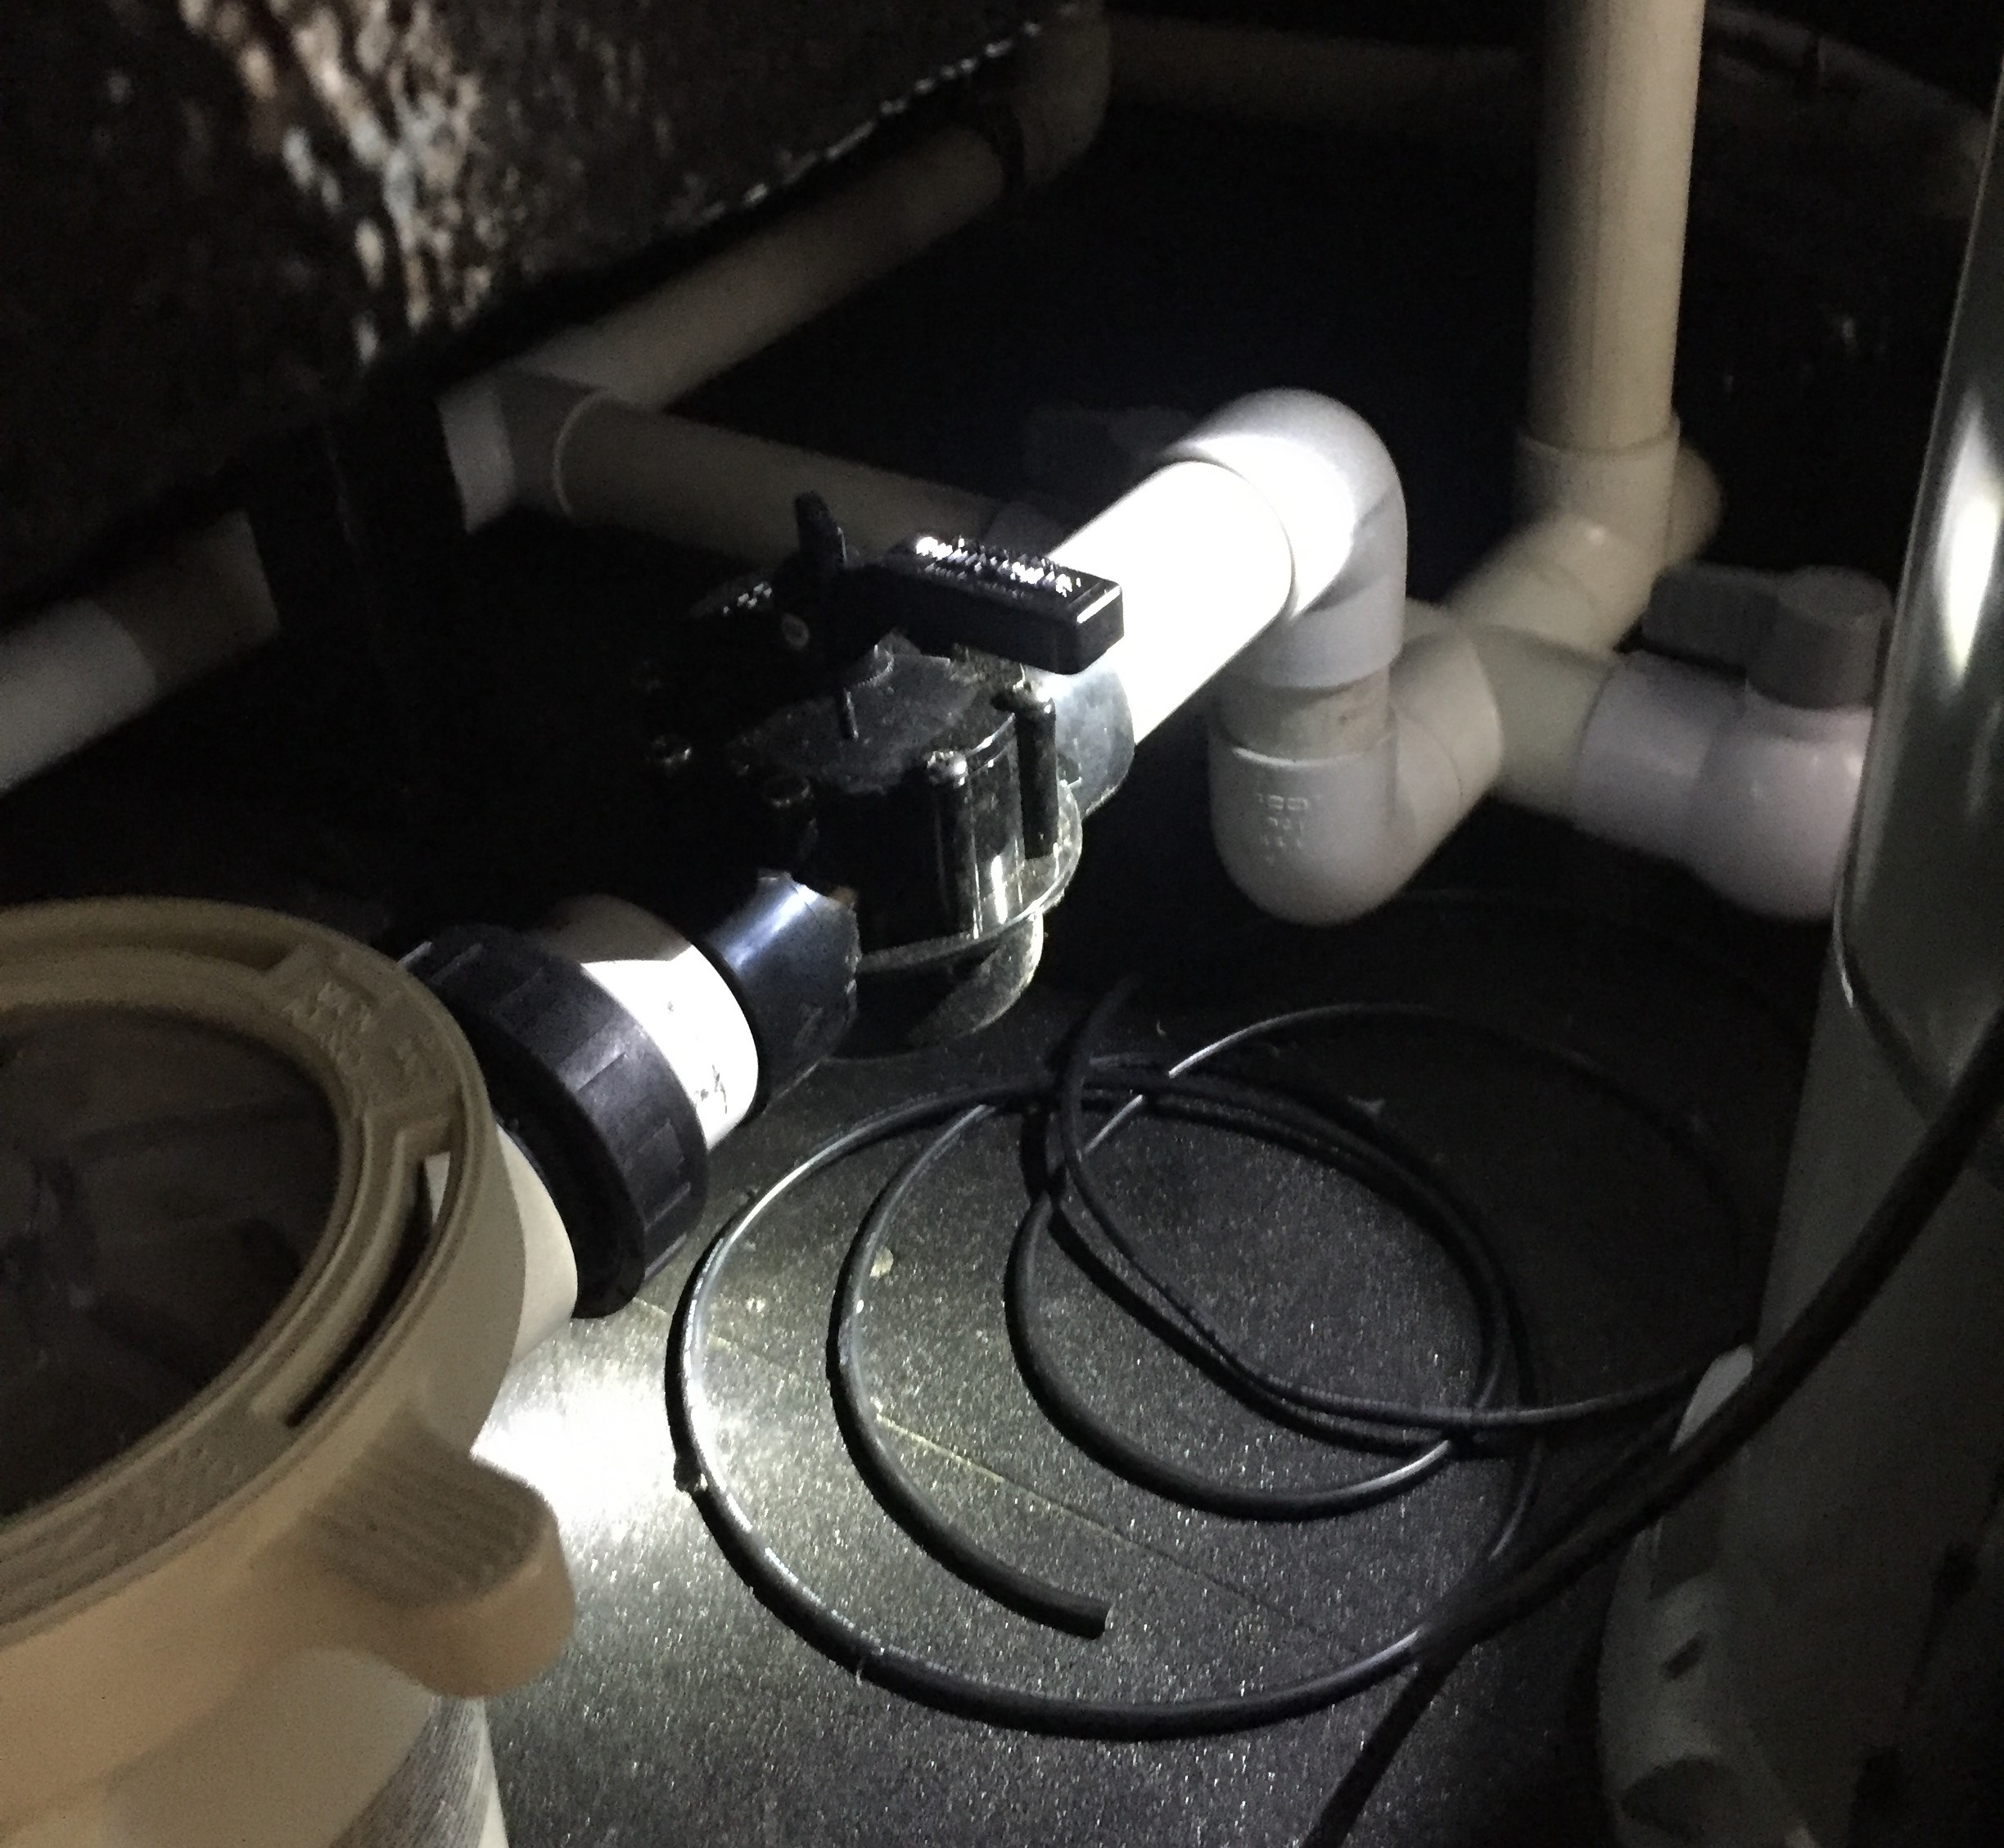
If you have a more recently built pool, you will only have two valves you need to close, both of the black, rounded variety. The first valve is located immediately before your pool pump:

and the second is prominently placed above your heater and below the black box labelled "Valve Actuator":

Once these are closed, you can unscrew the cap at the base of the filter to let the water left inside it drain out. Loosen the air valve at the top of the filter as well, so that the water can drain freely.
After the water is drained, unscrew the large ring around the upper midsection of the filter until it can be removed. Then you will be able to remove the top half of your filter, using leverage as needed to pry it off and taking care not to damage the rubber seal on the interior.
Next you can remove the interior section of the filter to rinse out or replace, depending on your current need. After this is complete, re-insert the interior filter, ensuring the pattern along the base aligns with the corresponding indentations in the base it sits on.
Screw the top of the filter and the sealing ring back on, re-affix the drain cap, and re-open the valves. Make sure to leave the air valve on your filter open for this part, to ensure your filter can fill all the way up with water.
Once water begins to spurt from the top of the air valve, you can close the valve.
Congratulations, you’ve successfully cleaned your cartridge filter!
